Monday, July 26, 2010

Although I've made a few forks to date, they have all been straight blade jobbies, largely because I haven't had access to a fork blade bender. There are no locally made commercial units, so it seemed I was going to have to make one myself. So behold my hillbilly-fabulous bender.


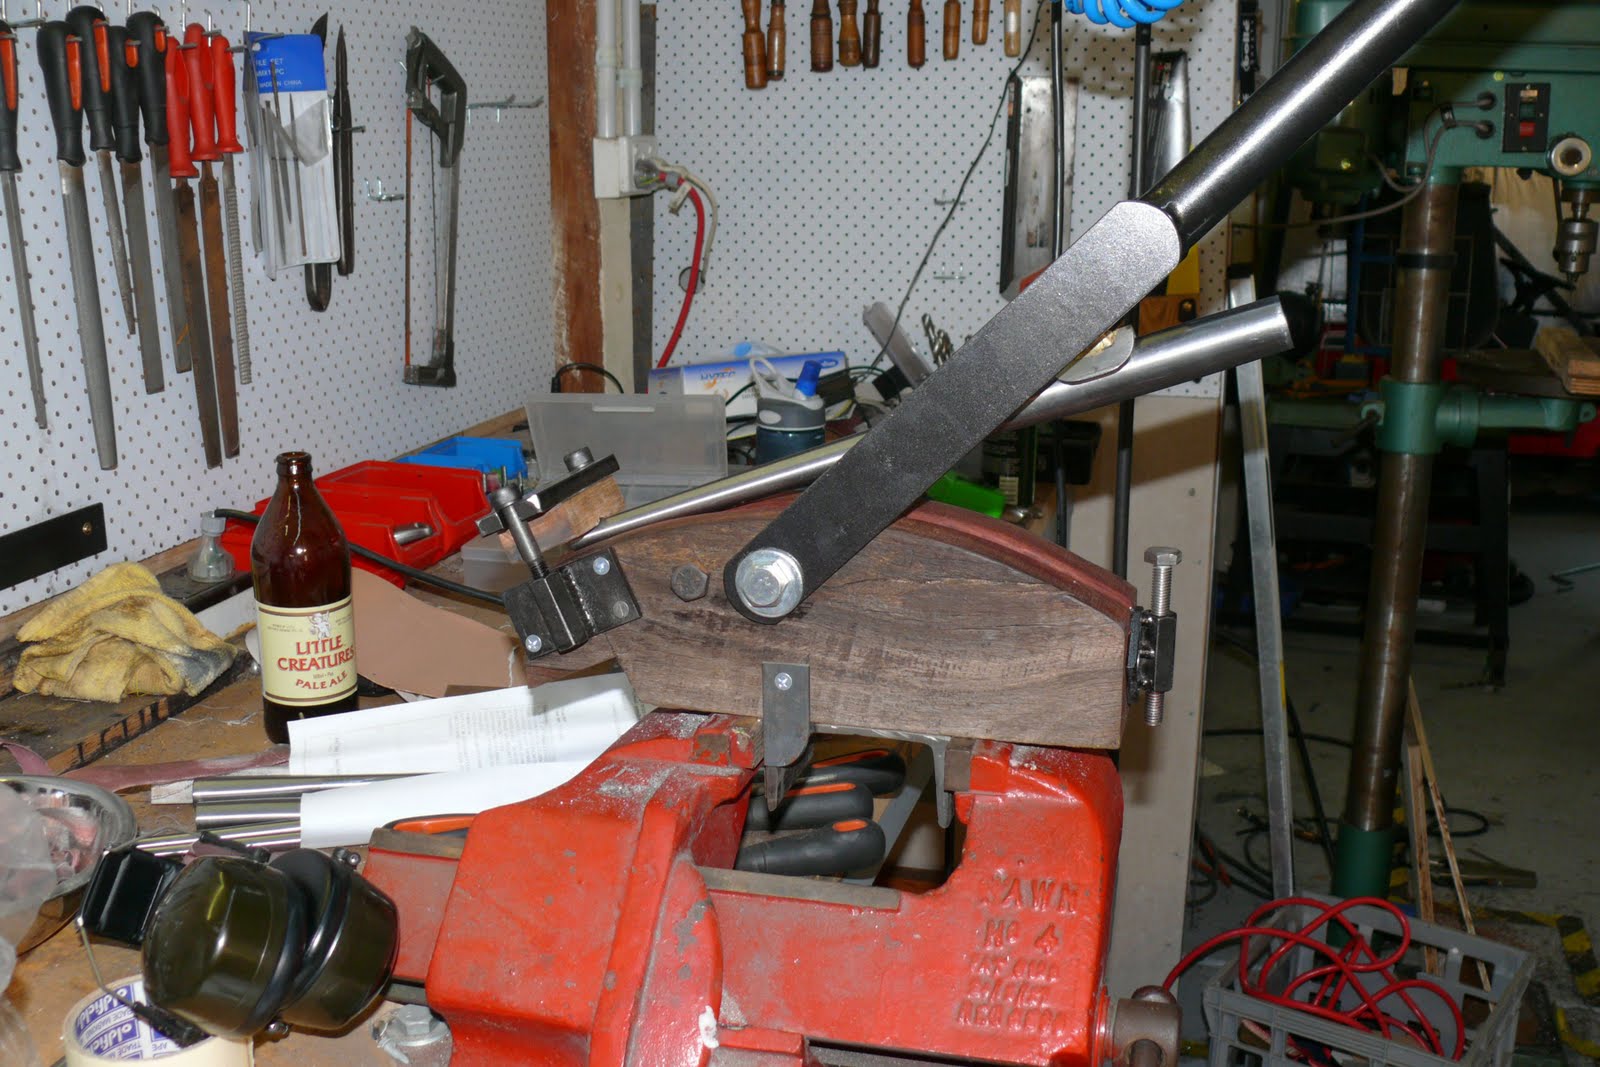
The mandrel is an offcut from a length of redgum fencepost I found in the woodshed. I cut, sanded and planed it to a constant radius and then routed a groove down the middle. For those of you not familiar with it, redgum is a fantastically dense and hard eucalypt which proved to be just about idea for this.


The fork tip clamp was knocked up out of some steel offcuts in the scraps bin, and is anchored by a pair of M10 cap screws that are threaded into hexagonal threaded rod couplers. The wood block is grooved to match the fork tip. Note the pint-sized bottle of Little Creatures - perhaps the finest beer in my world.


At the other end of the lump of wood is the bending stop. This is another M10 bolt and rod coupler, and provides a repeatable way of raking fork blades to exactly the same point.


Doing the actual bending itself is this little doohickey. It's a short length of 25mm angle, with a bored out 1/2" nut brazed to it. The nut pivots on a 1/2" bolt that pierces the bending arm. It all looks kinda Soviet era agricultural, but damn me the thing works. Effortless, repeatable and consistent bends.

Total cost was about $10 spent at the bolt shop. Everything else was already in the parts bin or was scrounged for free. Given that the commercial benders like the Hammil Engineering one run at over $US350, I'm pretty happy with the results.


And these are the results: on the left is an older straight blade fork, in the middle is a threaded road fork on NOS Columbus SLX blades, then a threadless road fork on more modern Columbus blades. All use socket style dropouts and are a fairly generic 365mm a-to-c and 45mm rake.


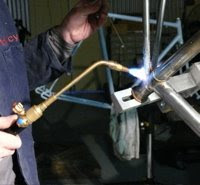
The nice thing about banging out a few in a row is you get a much better feel for the heat control. Come this last one, there was virtually no clean-up beyond scrubbing the flux off.

Next stop: disc braked cyclocross fork.

Friday, July 9, 2010

The boy slept for nearly two and a half hours in the middle of the day - time enough for me to hit the shed and braze up the fork for my wife Heather's bike. The crown and fork ends are the Long Shen Fleur-de-lys pattern, both in stainless.

Went together without a hitch, although it needed some post-braze tweaking. With the flux all gone, now begins the long and laborious process of filing, sanding and polishing. I've been fighting a losing battle with tendonitis in my elbows for about 10 years now, and hours of repetitive sanding and filing is pretty much the worst thing I can do, so I'll have to ration this task out over the next week so I don't have a total melt-down.


I've pretty much done the rough filing on the crown, so at least I've made some progress. Fork ends are a lot easier, and should be done before I dose up on anti-inflammatories and head out to the pub this evening!


The last couple of days here in Blackwood have been stunners. Well below freezing overnight, and clear, still cloudless days. Everything going to plan I'll head out on my dual suspension Ellsworth tomorrow morning and crunch some ice on the local trains. Have a good weekend.

Sunday, June 20, 2010

It's been a busy week for me. First, I finished the replacement fork for my track bike. It came together really nicely, and required no post-brazing alignment. After a little clean-up with emery cloth, it was off to the powdercoaters to get a lick of 'precious steel pearl'. I'm using a new powdercoaters who so far seem very laid back. Let's hope that translates to 'easy to deal with' rather than 'incompetent and lazy'.

With the fork out of the way there was really no excuse left to prevent me from finishing off the wishbone rear end on my road frame. Way back in the mists of time I had brazed the wishbone connector into the 19mm connector tube. This left me with the following tasks to complete:
  • mitering the connector tube to fit the seat tube;
  • brazing the chainstays into the wishbone piece;
  • brazing the connector tube to the back of the seat tube on the specially reinforced seat lug; and
  • brazing the dropouts in place.


I really should have taken more photos to document this momentous day, but my focus was on finishing the damn thing rather than blogging it. But I did take a couple. So now the flux is soaked off and the long process of clean-up begins.


There is an unfortunate amount of surface rust on the tubes thanks to the condensation in the shed, so it will require a fair bit of careful work with the emery cloth before I can call it good. I have no doubt that the clean-up will reveal a heap of little defects that need to be corrected, but that's life. I'm already thinking of the next frame: a disc braked cyclocross steed.

Sunday, June 13, 2010

I'm ashamed to say that it's been nearly 12 months since I last updated this blog. There are a whole heap of reasons - some good, some not so good. But what it boils down to is that I've just not been in the right headspace for building stuff, and as a consequence, stuff has not got built.

A recent email conversation with budding framebuilder Ben has made me realise that I had really better get of my arse and fire up the torch again. I've been commuting a fair bit recently and on fair weather days would like to ride my fixed gear bike. When I built it I made a traditional track fork for it with round fork blades, a flat crown and no brake hole. Rather than drill a brake hole in what is quite a nice looking track fork, I thought I'm make up a road fork for the bike.

The plan is for a pretty conservative 45mm rake, using a nice semi-sloping crown I had knocking around. Below is the bones of my very high-tech fork bender, which is basically a lump of redgum fencepost, which I cut to a constant radius and routed a groove into.


In time, it will have a neat clamp to secure the dropout end, but for the moment, this rather bodgy arrangement of a grooved block and a g-clamp will have to suffice.


Or so I thought until I started bending the second blade. Trojan brand g-clamps from Bunnings might as well be made from cheese. Definitely not impressed.


It took some careful fettling to get both blades even, and to the right rake, but against the odds, I managed it. Version 2.0 of the bender will definitely have a depth stop so I can at least do the basic bend to the same point. Leverage is provided by a length of RHS slipped over the blade Primitive, but it works.


Somewhat to my surprise, given the length of time I've been away from the tools, the trial fit-up was almost perfect. I think I should trim perhaps 1mm off the dropout end of the blades, as the fit is a fraction tight lengthwise, and not quite tight enough in terms of fitting into the dropout socket. Since it was dark by this point and Heather was inside drinking shiraz with a friend, I though I'd call it quits at this point and do the final trimming cleaning and brazing tomorrow.

The weather here is bloody cold, and it's been drizzling non-stop for about a week. Fortunately, I've got a heap of wood cut and stacked in the woodshed, and the shed heater I made last year gets the drafty shed up to a temperature that's at least tolerable, even if it's not actually pleasant. Polly and Shamus, my faithful wolfhound-cross dogs, were very content.